Nigerian soups are not just meals, they are already like a part of our culture in our daily lives.
Each region in Nigeria has their own unique style of cooking, and every soup carry history and taste that makes it special.
Many people think soups are only side dishes, but in Nigeria soup is a main meal that goes along with swallows like eba, pounded yam, fufu or semo.
Apart from the rich flavors of Nigerian soups, they also pack nutrients that help the body stay strong and full of energy. Below Are Some Of the Nigerian soups.
Best Nigerian Soup to Enjoy in 2026
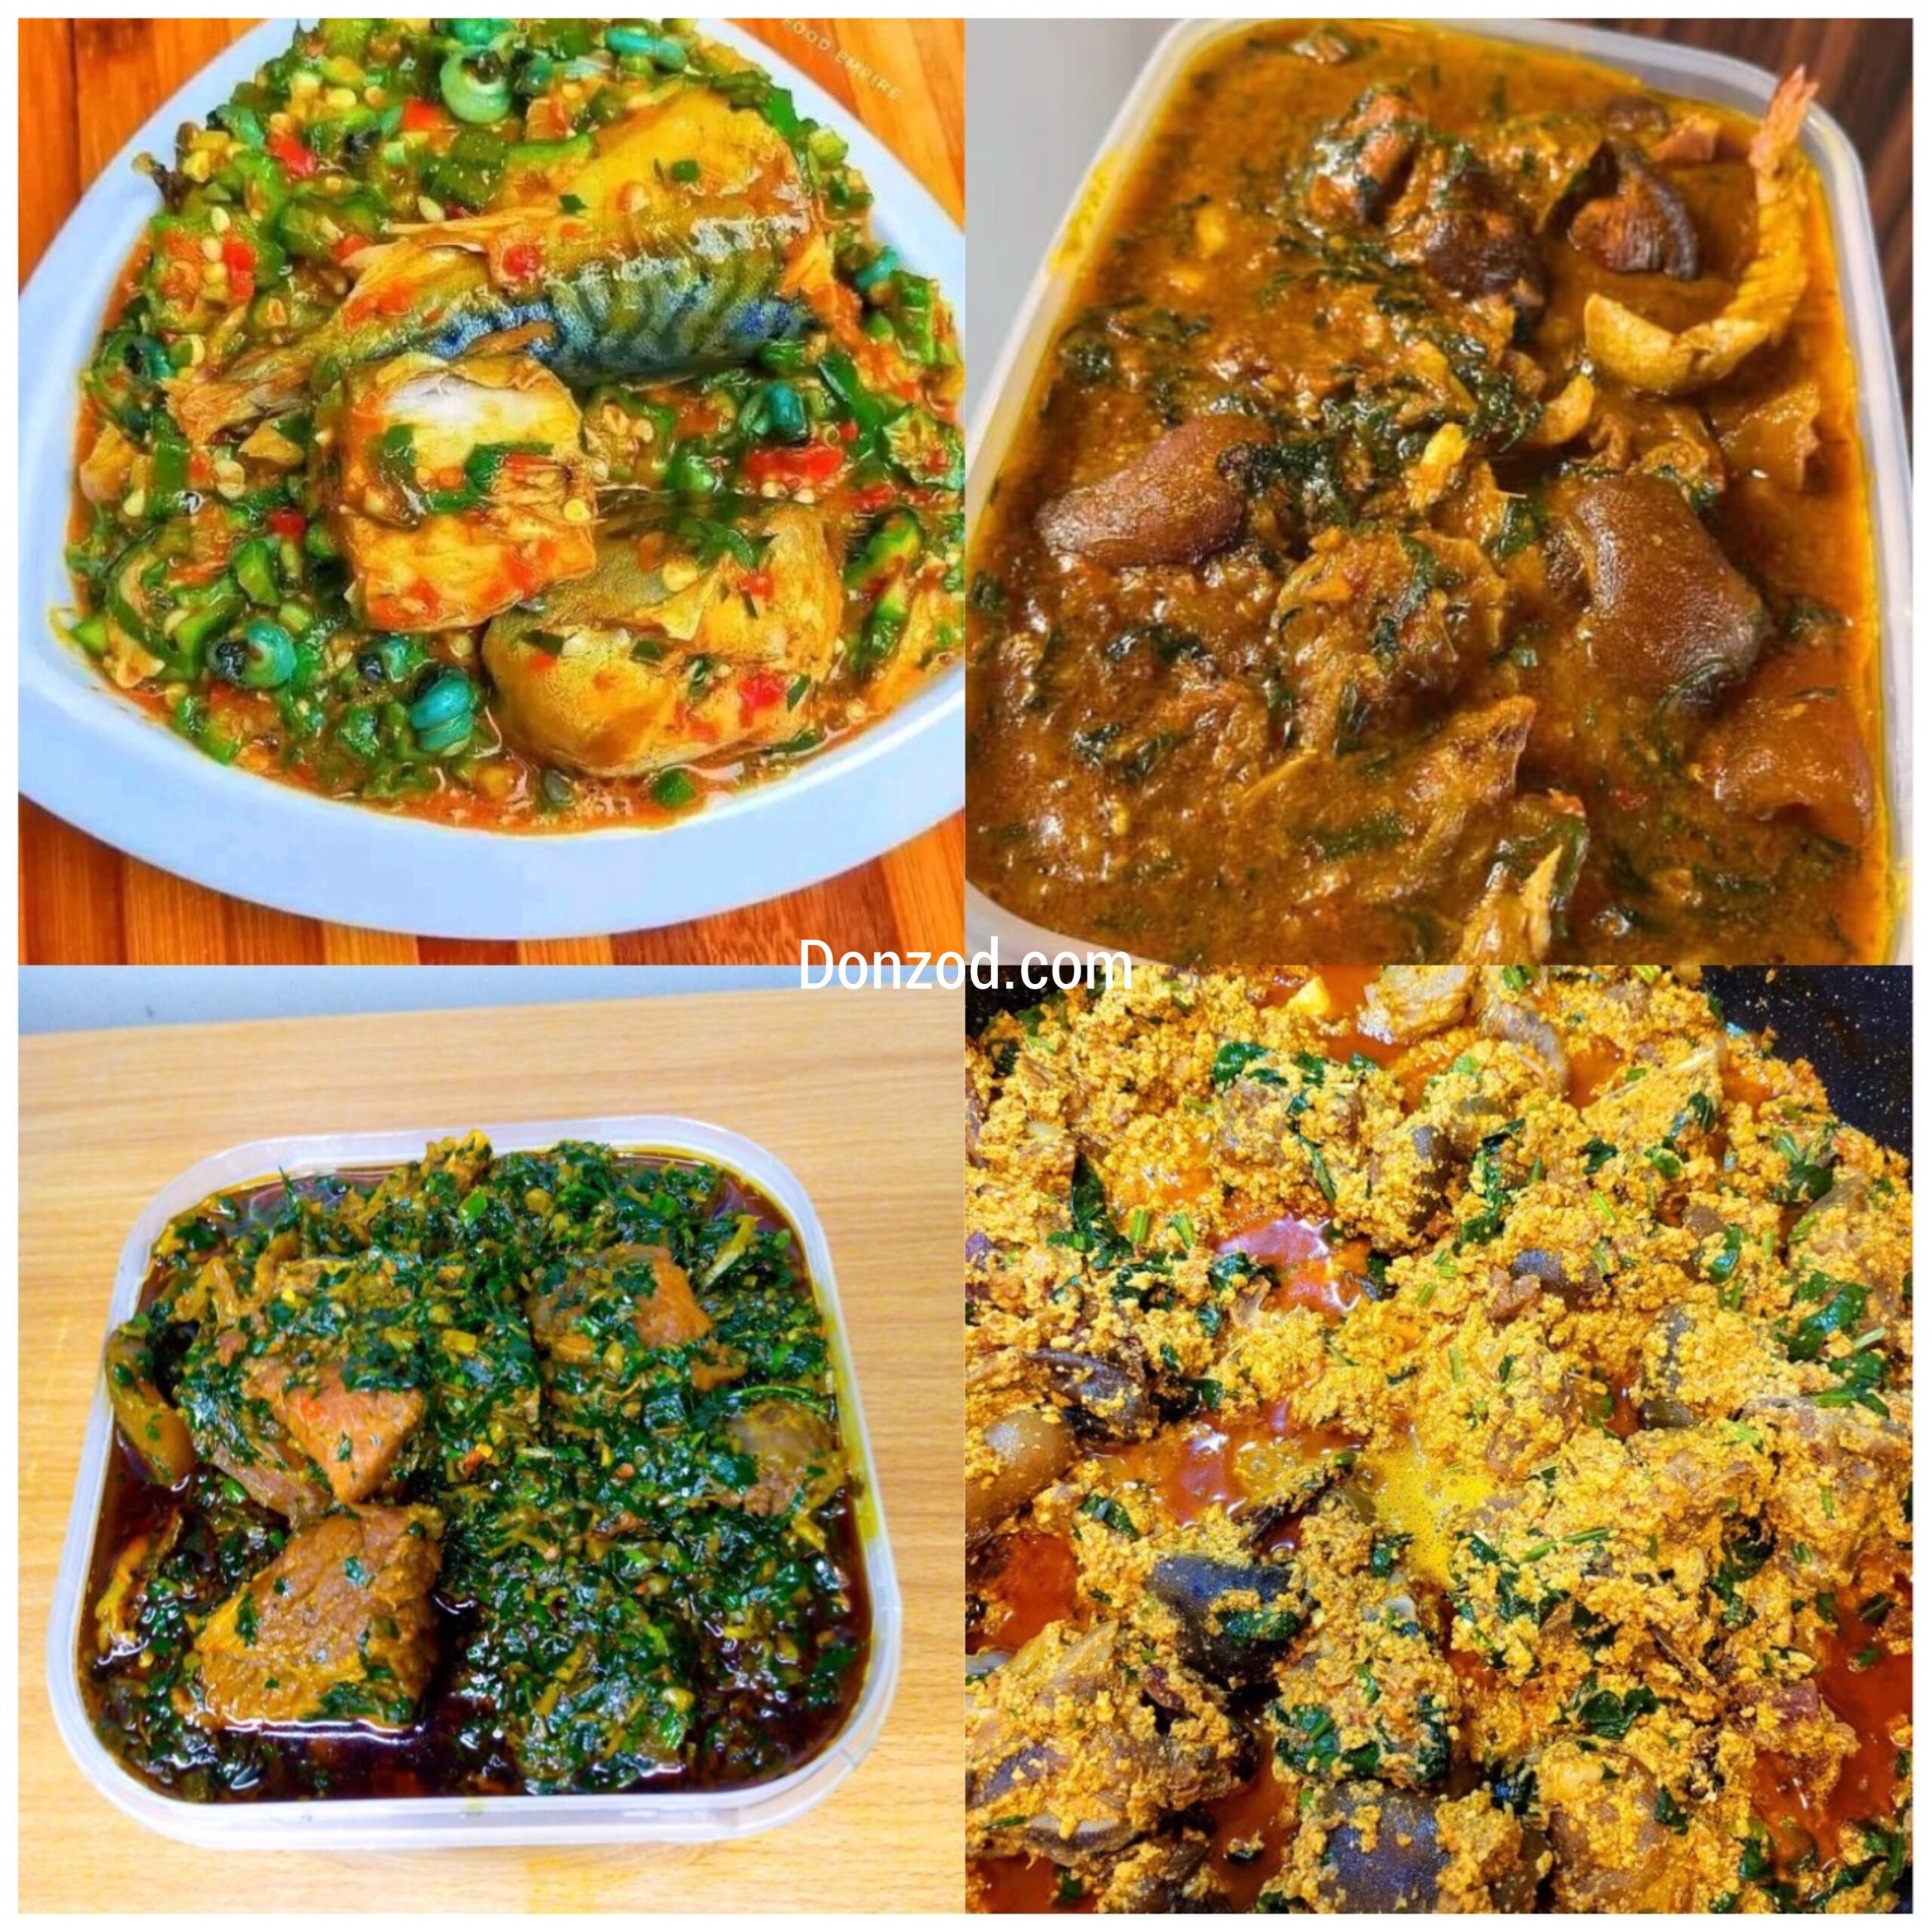
1. Egusi Soup
Egusi soup is one of the most loved soups in Nigeria.
Cooks make it with ground melon seeds, vegetables like bitterleaf or ugu, palm oil, and different proteins like beef, goat meat, or fish.
The melon seeds are rich in protein and healthy fat, which makes the soup good for people who need energy through out the day.
Some people fry the egusi before cooking while others prefer to boil it direct in the stock, however, in both ways, it still comes out tasty.
A small mistake people make is adding too much palm oil which can make the soup too oily and heavy. But when cooked with the right balance of oil, Egusi is a perfect blend of flavor and very healthy too.
2. Edikang Ikong
Edikang Ikong is a classic from Cross River and Akwa Ibom states.
Cooks prepare this vegetable soup mainly with ugu (pumpkin leaves) and waterleaf. The soup packs vitamins, iron, and fiber.
Many people call it the king of vegetable soup because it is very rich and filling. It is best prepared with goat meat, dry fish and stock fish, all giving it a sweet taste.
One thing about Edikang Ikong is that you do not need too much waterleaf because the leaves release their own water, so adding plenty water can make it watery and spoil the soup. It is best enjoyed when served hot with pounded yam.
3. Okro Soup
Okro soup stands out as another healthy choice that enjoys huge popularity across Nigeria.
Cooks love it because okro naturally delivers plenty of fiber while staying low in caloriescalories. These qualities make the soup excellent for supporting good digestion.
Some people cook it plain while others add vegetables, fish and assorted meats. Okro soup can be prepared in different styles, like the Yoruba style that use locust beans for extra flavor or the Igbo style with ugu leaves.
A lot of people like it because it does not take long to cook and it keeps for some days in the fridge without losing taste. The natural draw of okro makes it enjoyable with eba or amala.
4. Ogbono Soup
Ogbono soup, popularly known as draw soup is cooked with ground ogbono seeds. Just like okro soup, it is thick and slimy, which makes it very enjoyable.
Ogbono is high in healthy fats and helps to improve heart health. The soup is usually cooked with palm oil, meat, fish and vegetables.
One nice thing about ogbono is that you can combine it with okra to create a double draw effect, making it even more fun to eat.
But it is important to fry the ogbono well so that it does not form lumps, a mistake which may ruin the entire cooking process.
5. Soup (Ofe Onugbu)
Bitterleaf soup is a traditional Igbo soup that is both bitter and sweet at same time when cooked well.
You must wash the bitter leaves properly to reduce the bitterness. Cooks often prepare this soup with cocoyam paste, palm oil, stockfish, and assorted meat.
People know bitterleaf for its medicinal value because it cleanses the system and improves appetite.
Some people find the taste too strong, but with right seasoning it become a delightful dish. Serving it with pounded yam or fufu brings out the real and best taste.
6. Afang Soup
Afang soup is very similar to Edikang Ikong but with its own unique taste. It uses Afang leaves mixed with waterleaf.
leaves are slightly tougher, giving the soup a nice texture. This soup is rich in vitamins, calcium and fiber, making it good for bones and digestion.
Cooks usually add periwinkle, which gives the soup a slight seafood flavor. Preparing Afang soup takes some time because you need to slice the leaves very thin, but the result is worth the effort.
7. Nsala Soup
Nsala which is popularly called white soup, is popular among the Igbo people.
It is made without palm oil, which makes it lighter than many other Nigerian soups.
The key ingredients are catfish, yam for thickening, and local spices like uziza seed.
People often serve Nsala to nursing mothers because they believe it boosts healing and gives strength.
Because it is light and peppery, it is also perfect during cold weather.
You need to cook carefully so that the fish does not scatter in the pot.
Health Benefits of Nigerian Soups
Most Nigerian soups are vegetably rich, providing vitamins, minerals and fiber.
The proteins from meat, fish and legumes like egusi help build muscles and repair tissues.
Palm oil when used in moderate amount, supply vitamin Avitamin A and healthy fat. The spices like pepper, ginger and garlic used in many soups also helps to fight infection and improve blood circulation.
Eating these soups with whole grain swallows like wheat or unripe plantain fufu adds more fiber and keeps you full for long time.
Tips for Cooking Healthy Nigerian Soups
- Use fresh ingredients: Fresh vegetables and fish keep the nutrients intact.
- Avoid too much palm oil: A small quantity is enough for flavor and color.
- Control seasoning cubes: Too many seasoning cubes can increase sodium, so natural spices are better.
- Wash meats and fish properly: Clean protein makes the soup taste better and safe for eating.
- Do not overcook vegetables: Overcooking destroys vitamins and leaves vegetables looking dull.
In Conclusion
Nigerian soups are more than just food, they represent tradition, family and health.
From the good taste of Egusi to the leafy richness of Edikang Ikong, each bowl carries a story of culture and nutrition.
Cooking them may take time and patience, but the result is always very sweet. So next time you plan your meals, think of adding one of these healthy Nigerian soups to your table.