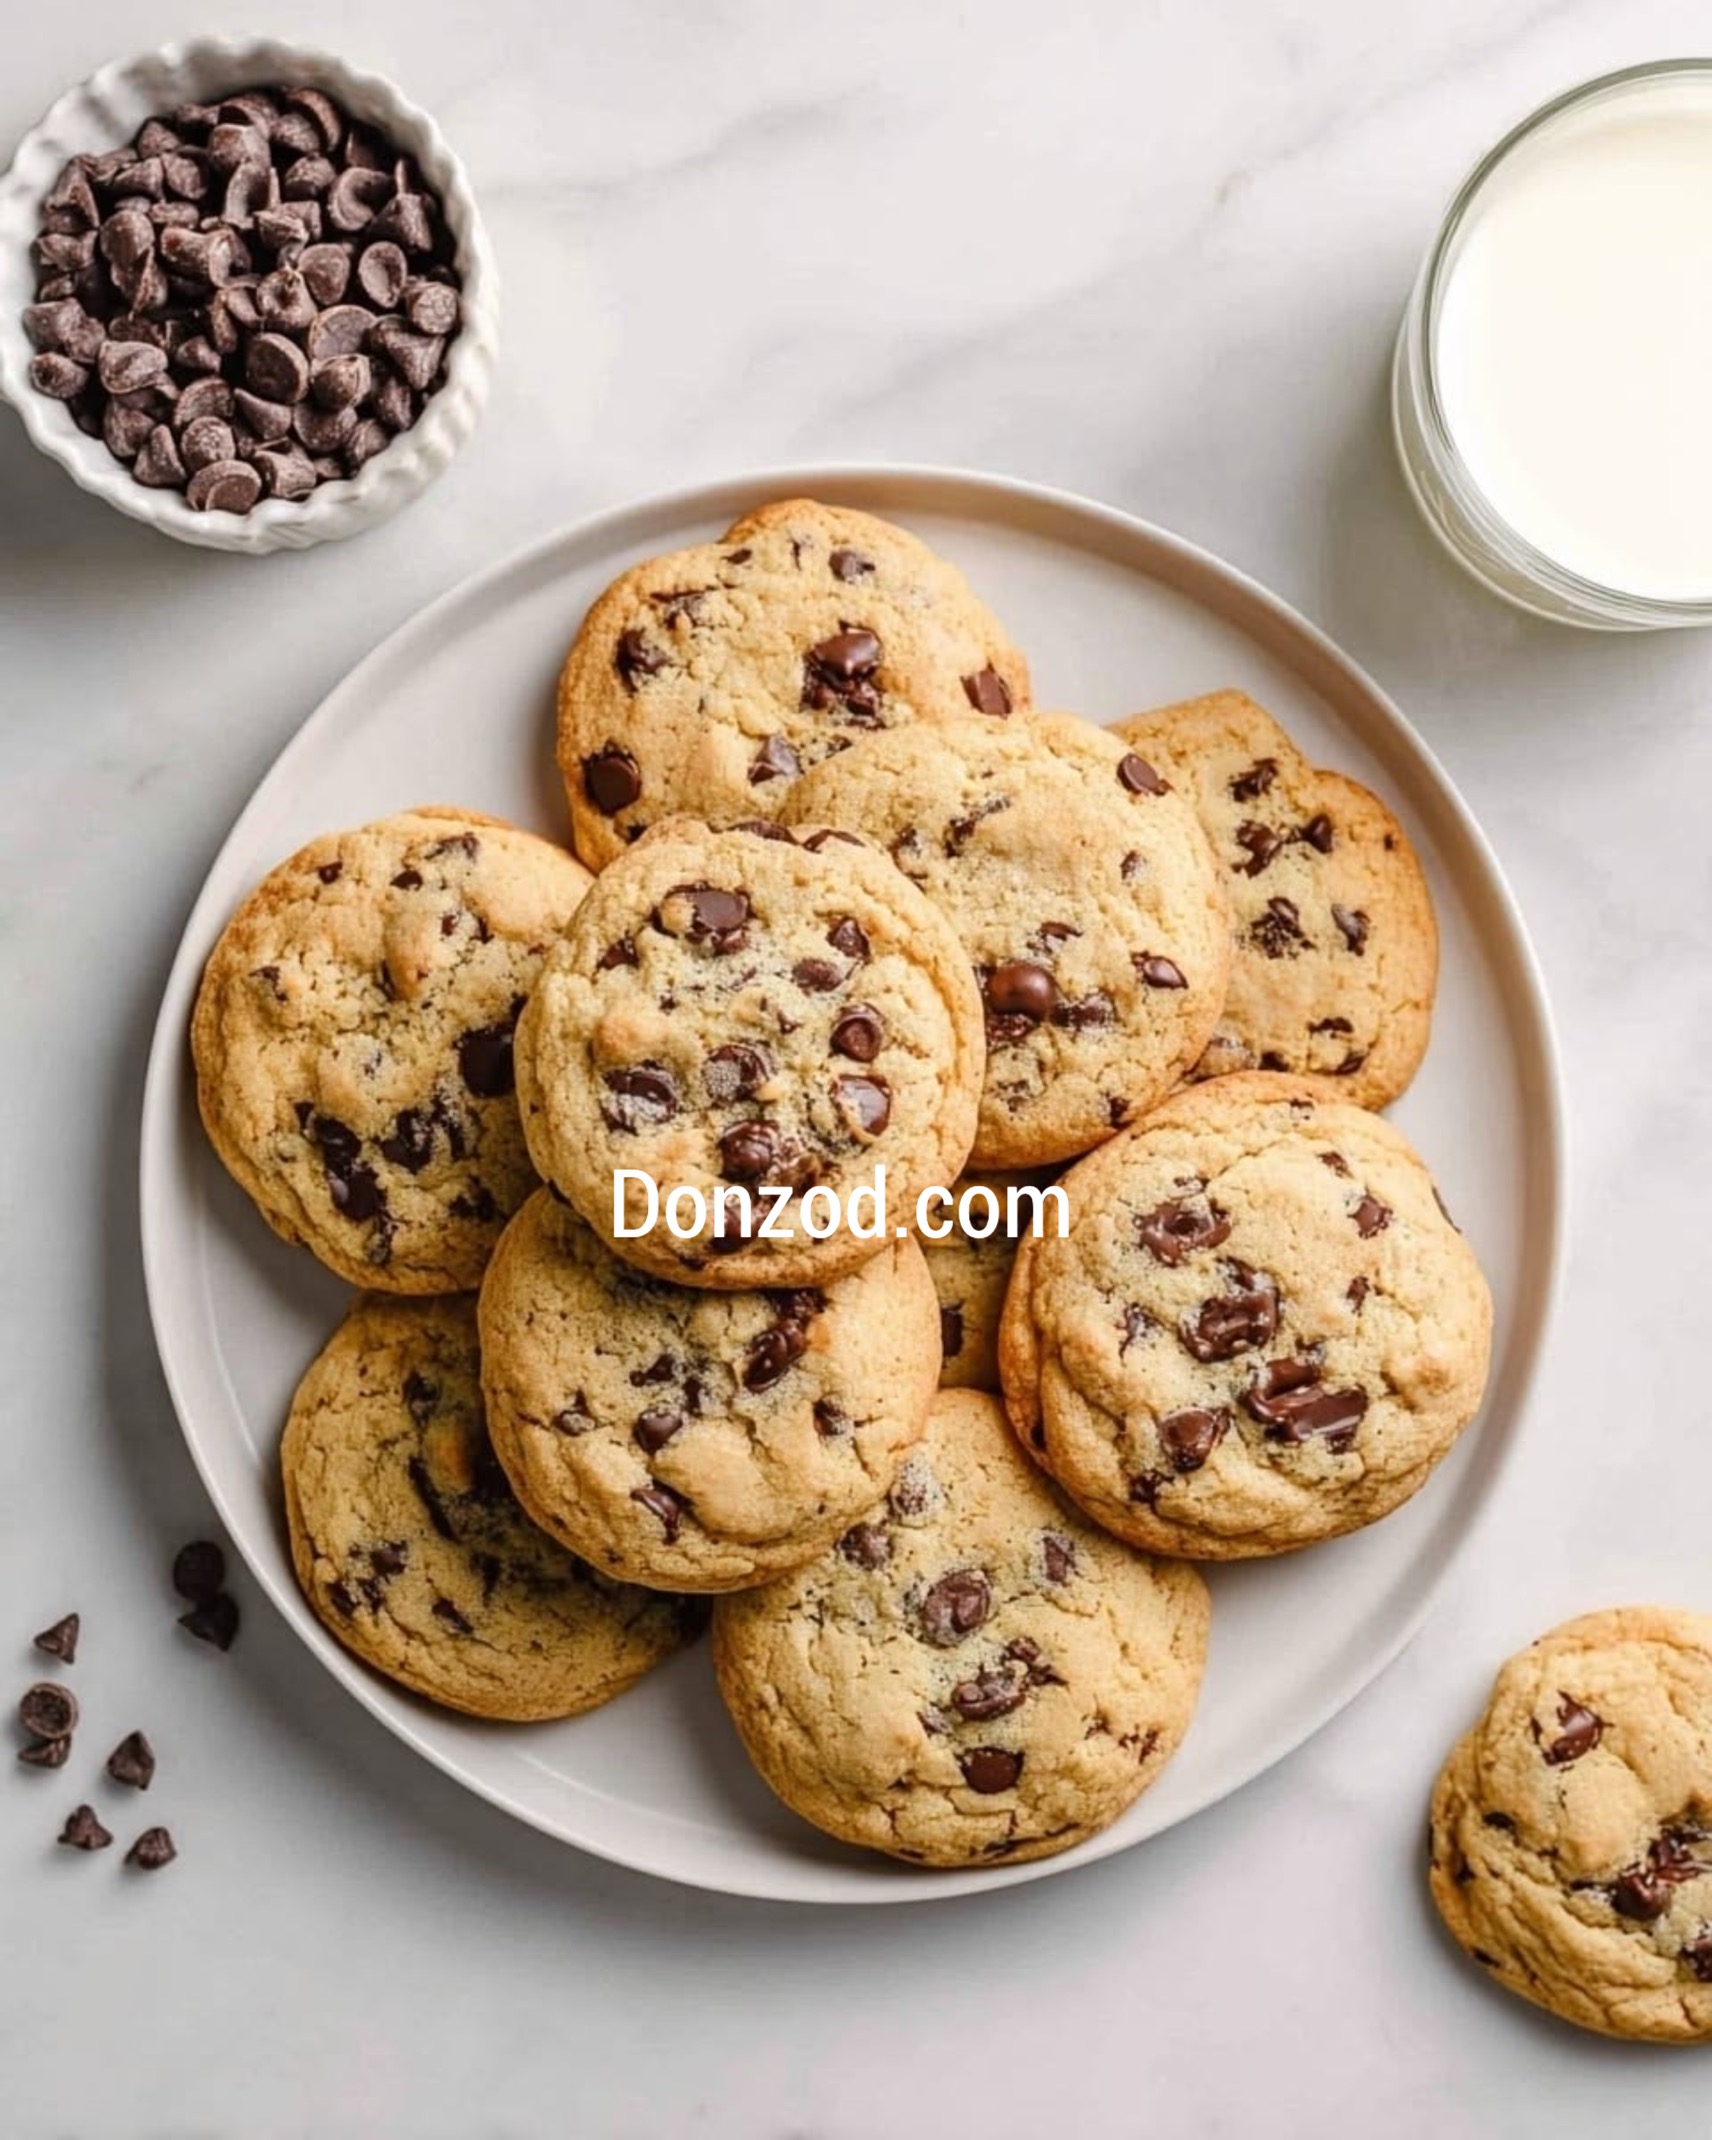
Peanut butter cookies is comforting and the scent of freshly baked cookies hovering through the kitchen. It carries some unforgettable cooking memories.
Among the numerous variations of cookies that one may choose to bake or buy, peanut butter cookies hold a rather distinctive place.
Their rustic appeal, rich nutty aroma, and balanced sweetness make them a favorite among home bakers and seasoned chefs alike. Peanut butter cookies, in their most traditional form, are simple to make.
Yet, behind their simplicity lies a culinary legacy that reflects the evolution of American home baking, the agricultural significance of peanuts, and the fascinating chemistry of baking.
This article aims not only to explore the appeal of these cookies but also to reflect on their origins, variations, and the reason they persist so fondly in collective memories.
A little about Peanut Butter Cookies
It is generally believed that the concept of peanut butter cookies dates back to the early 20th century, shortly after peanut butter itself became a commercially available product.
George Washington Carver, the African American agricultural scientist, often receives credit somewhat erroneously for inventing peanut butter, though he did popularize over 300 uses for peanuts, including cookie recipes that featured ground peanuts.
However, it was not until the 1930s that a recognizable peanut butter cookie recipe began to appear regularly in American cookbooks.
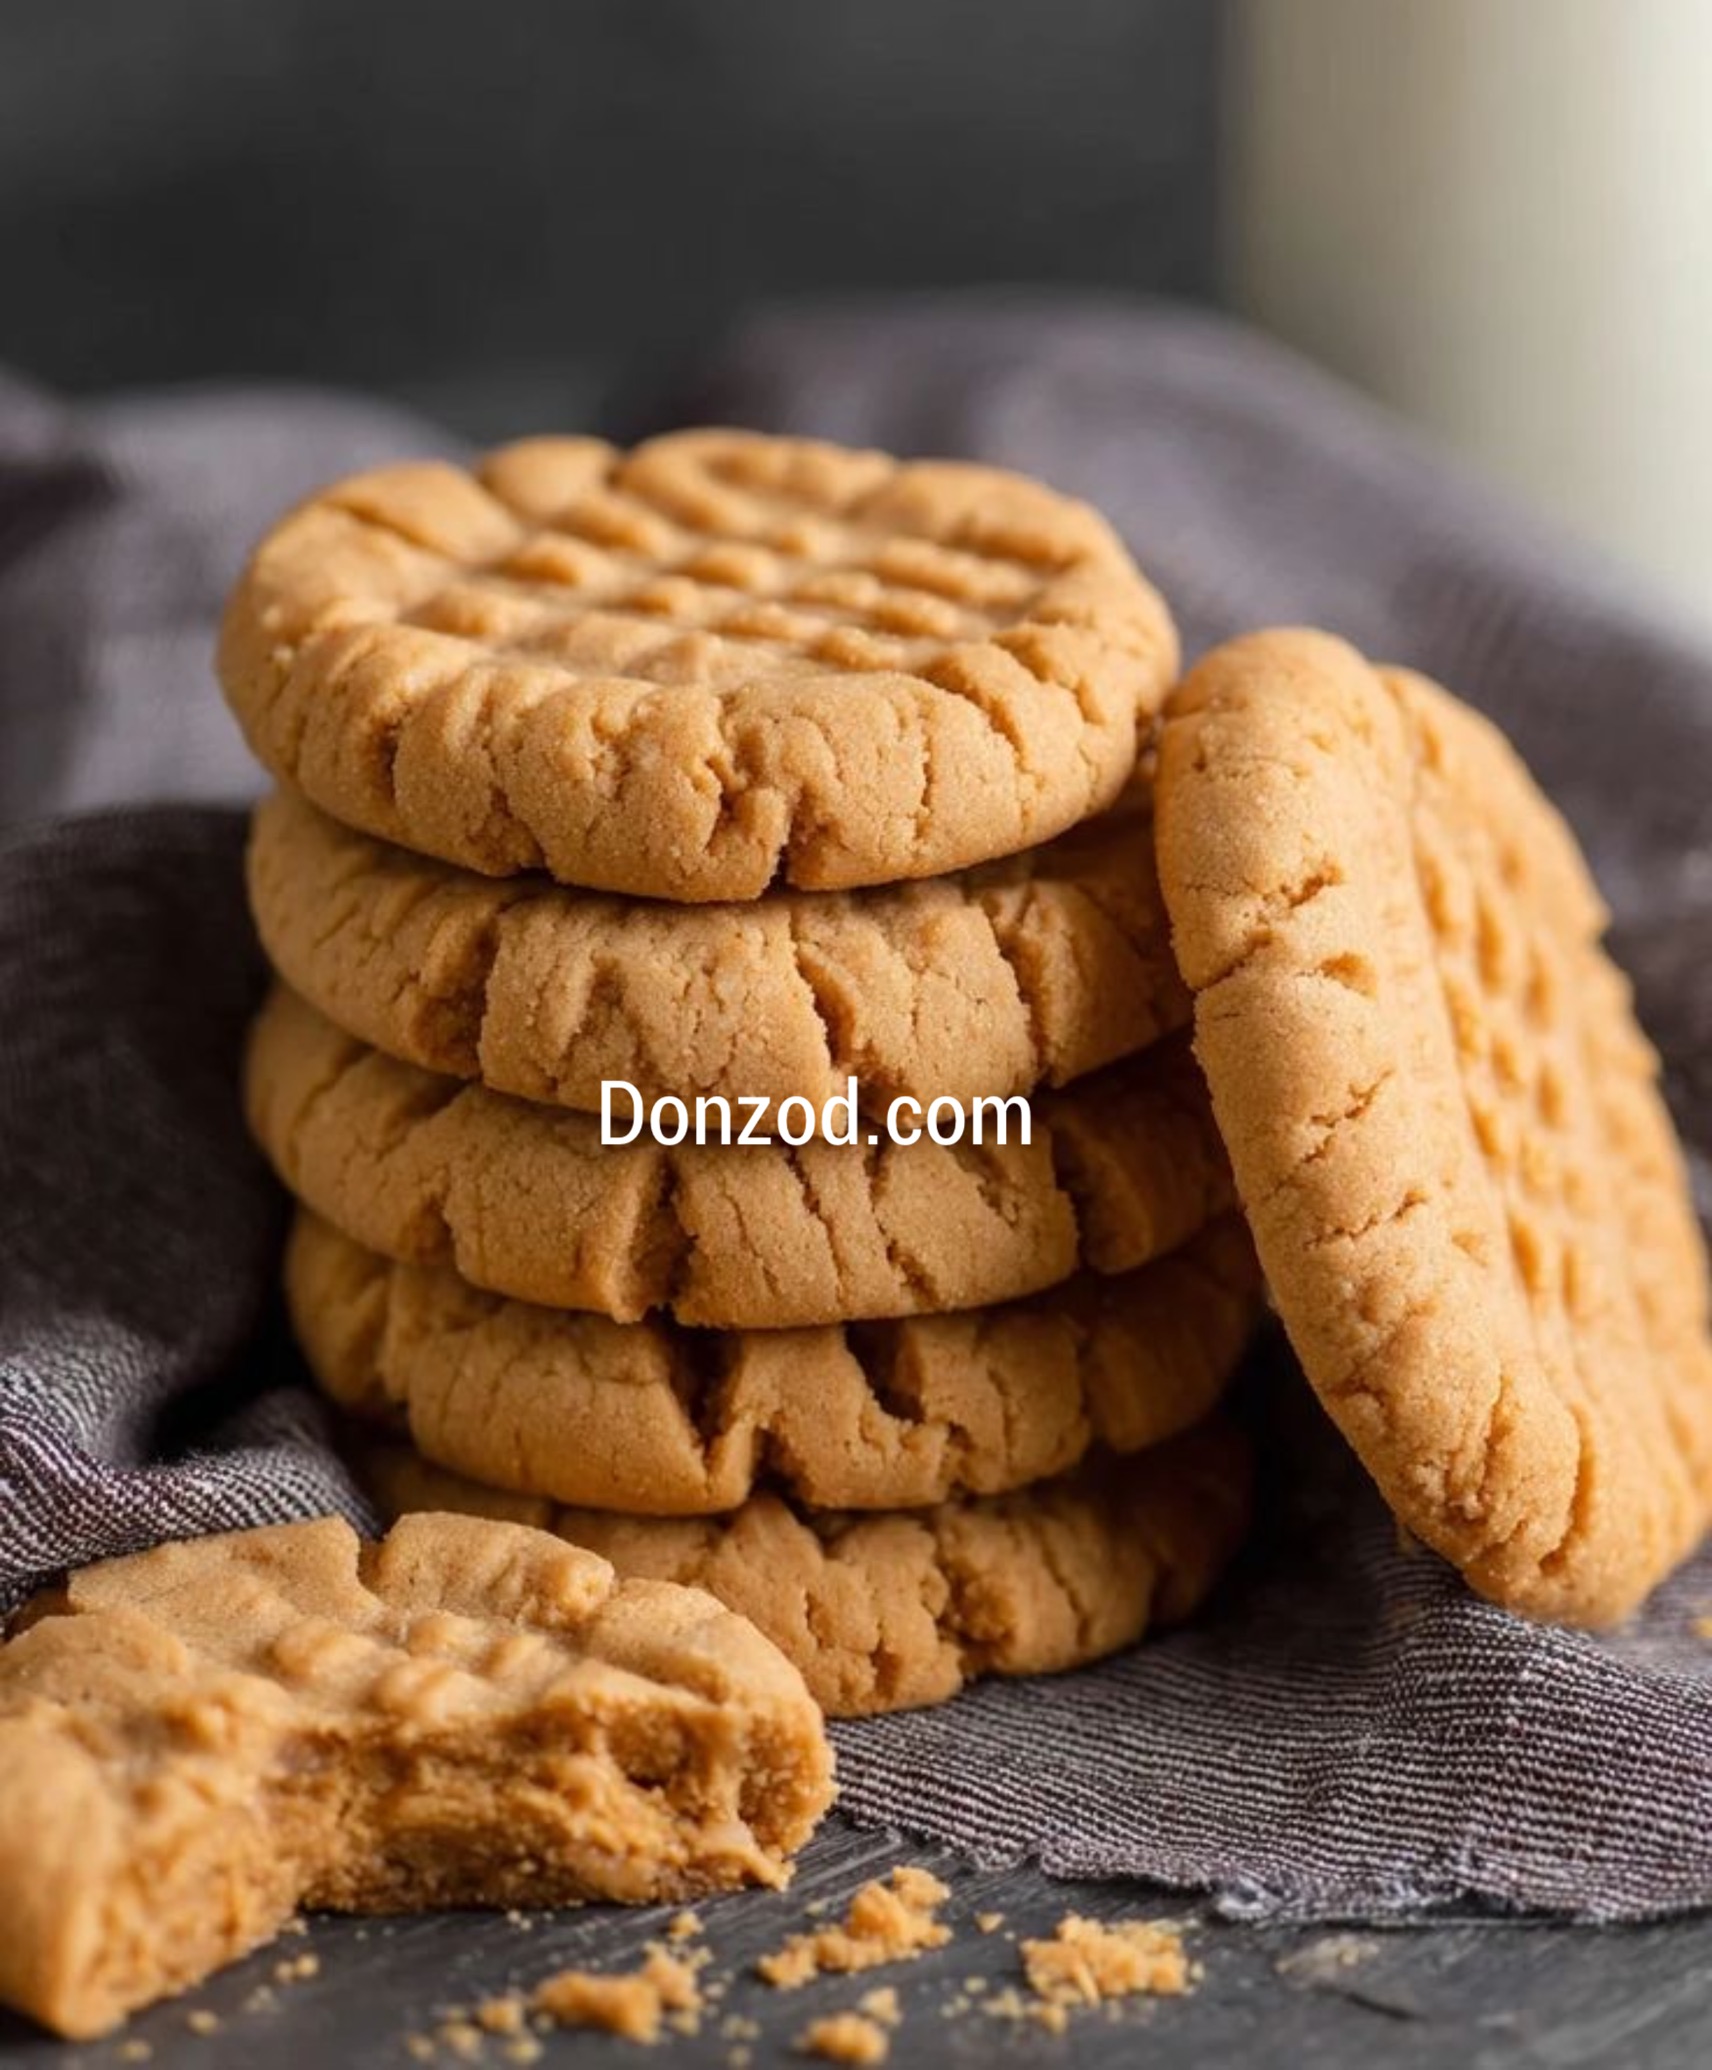
The now-iconic criss-cross pattern, typically made with the tines of a fork, is believed to have originated with a Pillsbury recipe published in 1936.
The purpose of this pattern, while aesthetic, also serves a functional role it flattens the dense dough, allowing for more even baking.
One could argue that part of the cookie’s enduring appeal is this balance of form and function, the way its recognizable texture carries not only peanut flavor but also a visual signature that differentiates it from other cookies.
There is a kind of gentle nostalgia in preparing the dough, pressing it down with a fork, and watching it spread just slightly in the oven, its edges browning delicately while the center remains soft.
Complexity of Making Peanut Butter Cookies
Despite its straightforward list of ingredients typically consisting of peanut butter, sugar, eggs, flour, and baking soda the peanut butter cookie demands a certain precision. It is, by all means, a lesson in baking chemistry.
Peanut butter, as a fat, serves multiple roles in the dough. It contributes moisture, flavor, and a creamy texture that no other ingredient can replicate. However, the type of peanut butter used can drastically influence the outcome.
Natural peanut butter, with its oil separation, may result in a denser, sometimes crumbly cookie unless handled correctly.
On the other hand, commercial peanut butters with added emulsifiers tend to provide a more uniform texture.
Sugar, typically is a combination of white and brown, controls both sweetness and the final consistency.
Brown sugar, with its molasses content, adds depth and moisture, while white sugar supports crispness.
The balance between the two is not arbitrary; it determines whether a cookie will snap or bend, crumble or chew.
Eggs bind the mixture together, and the flour gives structure. Still, even here, decisions must be made carefully. Too much flour and the cookie turns cakey; too little and it collapses into a greasy puddle.
Baking soda, often the only leavening agent, ensures that the cookies rise ever so slightly, creating those gentle cracks on the surface that make them look perfectly imperfect.
Variations Across Time and Taste
Although traditional peanut butter cookies are beloved, bakers have not hesitated to experiment.
Some recipes introduce chocolate chips or chunks, merging the familiar comfort of peanut butter with the indulgence of cocoa.
Others go for bolder additions: oats for texture, sea salt flakes for contrast, or even chili powder for an unexpected kick.
The introduction of gluten-free versions, using almond flour or oat flour in place of wheat, has widened the cookie’s appeal. Similarly, vegan adaptations replace eggs with mashed banana or flaxseed meal, though the taste and consistency can vary.
One relatively recent trend is the three-ingredient peanut butter cookie. Peanut butter, sugar, and an egg.
While these are efficient and surprisingly good, they lack the complexity of flavor and structure found in recipes that involve a broader ingredient list.
Still, such innovations speak to the versatility of the peanut butter cookie. It is as accommodating to improvisation as it is loyal to tradition.
The Emotional Undertone
Perhaps what sets peanut butter cookies apart is not just their taste, but their emotional resonance.
They are rarely considered fancy. You would be unlikely to find them served at upscale events or in high-end patisseries. And yet, that is precisely their charm.
Peanut butter cookies evoke a sense of domestic cooking prowess. They are what one bakes for a child’s lunchbox, or for a neighbor recovering from surgery, or just because the weather turned cold and the house felt a little too quiet. There is comfort in their humility.
I remember, rather vividly, baking them with my younger sister on rainy afternoons. She meticulously shaped the criss-cross pattern, sometimes redoing it until each line matched perfectly.
We baked cookies that turned out misshapen, sometimes overbaked or underbaked, yet we always enjoyed them with smiles and warm cups of milk together
Mistakes were made often too much sugar, forgetting to preheat the oven, or using a baking sheet that had not been properly greased.
Yet, those errors never truly ruined the cookies. If anything, they added to the charm. Baking peanut butter cookies is forgiving in a way that life rarely is.
Nutrition and Misconceptions
While it would be untrue to label peanut butter cookies as health food, they are not necessarily the villain they are sometimes made out to be.
Peanuts are a source of healthy fats, protein, and essential nutrients such as niacin and magnesium. Of course, when combined with refined sugars and flours, the final product becomes more of a treat than a dietary staple.
Still, moderation allows room for enjoyment. A well-made peanut butter cookie can be both satisfying and energizing.
There are individuals with severe peanut allergies for whom these cookies can be dangerous.
It is important especially in communal or school settings, to label them properly or opt for alternatives made with seed butters, such as sunflower seed spread.
Peanut butter cookies are more than a dessert. They are a reminder of domestic rituals, of recipes scribbled in fading ink on index cards, of the joy found in baking something with your hands.
In an age where culinary innovation often leans toward the avant-garde, these cookies stand as a testament to the enduring power of simplicity done well.
In Conclusion
To bake a batch of peanut butter cookies is to participate in a quiet, ongoing tradition one that connects us not only to a specific flavor but to the broader human desire for comfort, nourishment, and the small pleasures that make a day feel whole.
If you have not baked them in a while, perhaps now is a good time. Just be sure to check if you have remembered the baking soda.
I once forgot it and ended up with a tray of delicious but oddly dense biscuits that my guests politely complimented, but only half-finished. Mistake after all, is part of the cooking journey.